
Getting Your Garage Door Ready for Winter: The Short Answer
Re-lubricate every moving metal part, check spring tension and balance, replace cracked weatherstripping, clean out monsoon dust from the tracks, and test your opener's safety sensors. Cooler weather is the best window of the year to do this work, and doing it now protects the door through the temperature swings ahead and sets it up for the heat that comes back next summer.
Why This Matters More Than It Sounds Like It Should
Garage doors in this part of Arizona spend months baking in extreme dry heat, which cooks factory lubricant out of hinges and rollers and dries out rubber seals faster than in milder climates. Add in UV exposure that fades and weakens painted steel and plastic components, plus monsoon season dumping dust and grit into every track and joint, and by the time cooler weather arrives in October and November, most doors are carrying damage you can't see from a quick glance in the driveway.
Cool desert nights add their own stress. When daytime highs and nighttime lows swing widely, metal parts expand and contract repeatedly. A spring or hinge that was already weakened by summer heat is far more likely to fail during these cooler months than during the steady heat of July. Winter prep isn't really about cold weather protection the way it would be in a northern climate — it's about catching up on everything the summer did to the door before the cycle starts again.
Step 1: Lubricate Every Moving Part
Use a silicone-based or lithium-based garage door lubricant, not WD-40, which is a solvent and will actually strip lubrication over time. Apply it to the hinges, rollers, the spring coils themselves, and the track-facing bearing plates. If your door has started squeaking, grinding, or hesitating partway through its cycle, dried-out lubricant combined with trapped dust is almost always the cause.
Step 2: Inspect the Springs Before They Inspect You
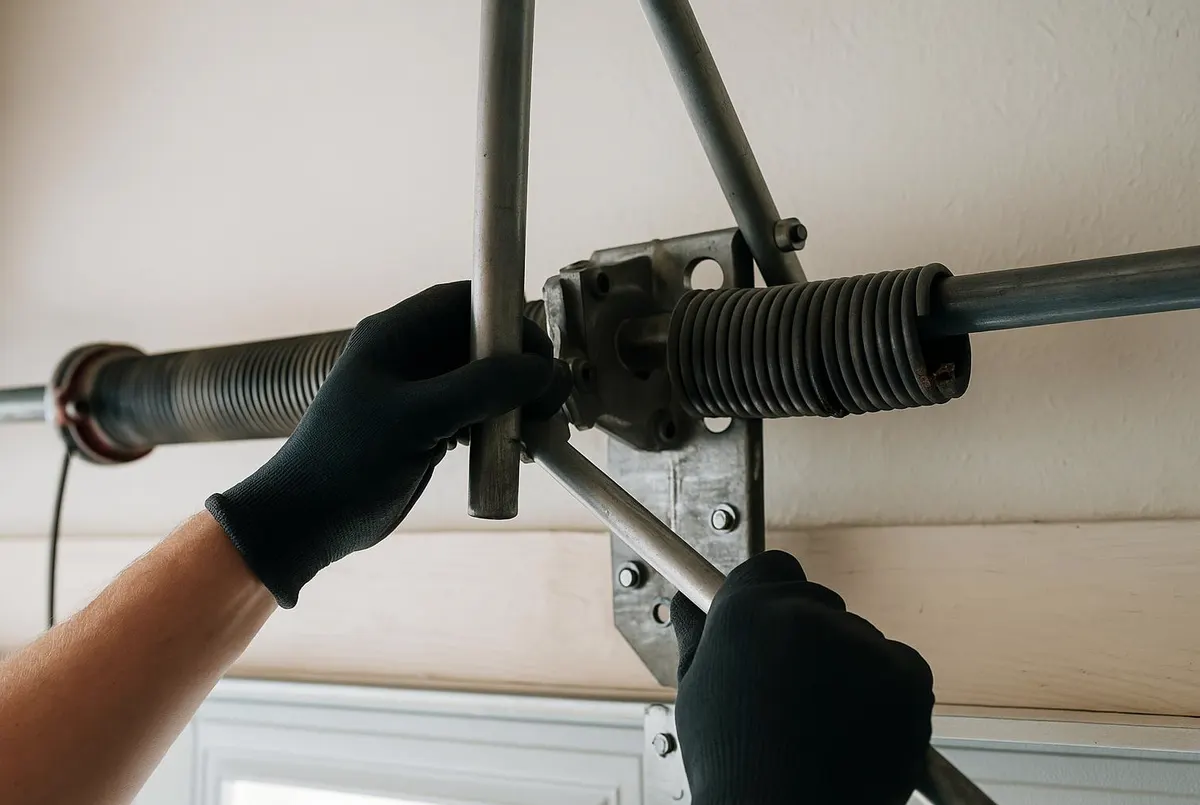
Torsion and extension springs take a beating from repeated heat cycling. Look for visible gaps in the coils, rust, or a spring that looks stretched compared to its resting shape. A quick way to check balance: disconnect the opener, lift the door halfway by hand, and let go. A properly balanced door stays put. If it drops or shoots upward, the spring tension is off and the door is working harder than it should — which shortens the life of the opener too.
Do not attempt to adjust or replace torsion springs yourself. They're under extreme tension and have caused serious injuries to DIYers. This is one job worth leaving to a technician every time.
Step 3: Replace Weatherstripping and Seals
The rubber seal along the bottom of the door and the vinyl stripping around the frame dry out and crack from UV exposure faster here than in cooler, less sunny regions. Cracked seals let dust, heat, and the occasional monsoon downpour into the garage. If you can see daylight around the edges of a closed door, or if the bottom seal has gone stiff and brittle, it's past time to replace it. New weatherstripping is inexpensive and makes a noticeable difference in keeping dust and blowing rain out during sudden storms.
Step 4: Clean Out the Tracks
Monsoon season leaves a layer of fine dust and grit packed into the tracks, and it doesn't fully clear out on its own. Wipe the tracks down with a damp cloth, check for dents or bends that could cause the rollers to bind, and make sure the tracks are still properly aligned. A door that rattles or shudders while moving is often fighting debris or a misaligned track rather than a motor problem.
Step 5: Test the Opener and Safety Sensors
Heat is hard on garage door opener motors and circuit boards — extreme attic and garage temperatures over the summer months can shorten their lifespan considerably. Test the auto-reverse function by placing a block of wood in the door's path and closing it; the door should reverse immediately on contact. Check that the photo-eye sensors near the floor are aligned and free of dust, since a dirty or knocked-out-of-alignment sensor is one of the most common reasons a door refuses to close. If you've noticed the remote working inconsistently or the wall button needing extra presses, it may be time for a tune-up or a battery replacement in the keypad.
Step 6: Check the Panels and Finish
UV fading and heat exposure can cause wood composite doors to warp slightly and painted steel doors to chalk or discolor. Run a hand along the panels for warping, check for rust starting at the bottom corners, and tighten any loose hardware, hinges, or brackets that have worked themselves loose from repeated vibration and thermal expansion.
When to Call Queen Creek Garage Door Co
If your inspection turns up a spring that looks stretched or damaged, a door that won't balance correctly, or an opener that's acting unpredictably, stop troubleshooting and call us. Our garage door maintenance service covers a full inspection and tune-up — lubrication, hardware tightening, track alignment, and safety sensor testing — so nothing gets missed. If a spring needs replacing, our spring repair and replacement service handles it safely with the right tools and the correct spring sizing for your door, something that's easy to get wrong and dangerous to attempt without experience. We also handle garage door opener repair if yours is struggling after a hard summer.
If you're in Queen Creek, San Tan Valley, Gilbert, Chandler, Mesa, Apache Junction, Florence, or Maricopa and your garage door needs a pre-winter check, call Queen Creek Garage Door Co today to get it done right before the next season of heat rolls back around.